Home Automation on Raspberry Pi: Build a Private Smart Home in 2026
You've decided you want a smart home, but you're not willing to hand over your bedroom temperature, door lock status, and motion data to Amazon, Google, or a cloud platform that could shut down its API in 18 months. That's the friction point most guides ignore — and it's exactly where home automation raspberry pi builds earn their place.
Three anxieties usually stall the decision. Do I have the skills to build this? — minimal Linux required if you pick Home Assistant OS. Will it actually be reliable? — yes, when the hub runs on a Pi 4 or newer over wired Ethernet, per Raspberry Pi's own guidance. How do I know it'll work without internet? — local-protocol devices on Zigbee or Z-Wave paired with Home Assistant give you full offline operation, with the only loss being remote app access.
This guide walks you through hardware selection, installation paths, device choices, offline-reliability design, and a 30-day build plan — drawn from official Raspberry Pi documentation and the same approach Set Smart Home uses in client installations across Warsaw. Home Assistant OS images are now distributed directly through Raspberry Pi Imager under "Other specific-purpose OS → Home assistants and home automation," according to Raspberry Pi, signaling the Pi has become the official target platform for DIY home automation raspberry pi systems.
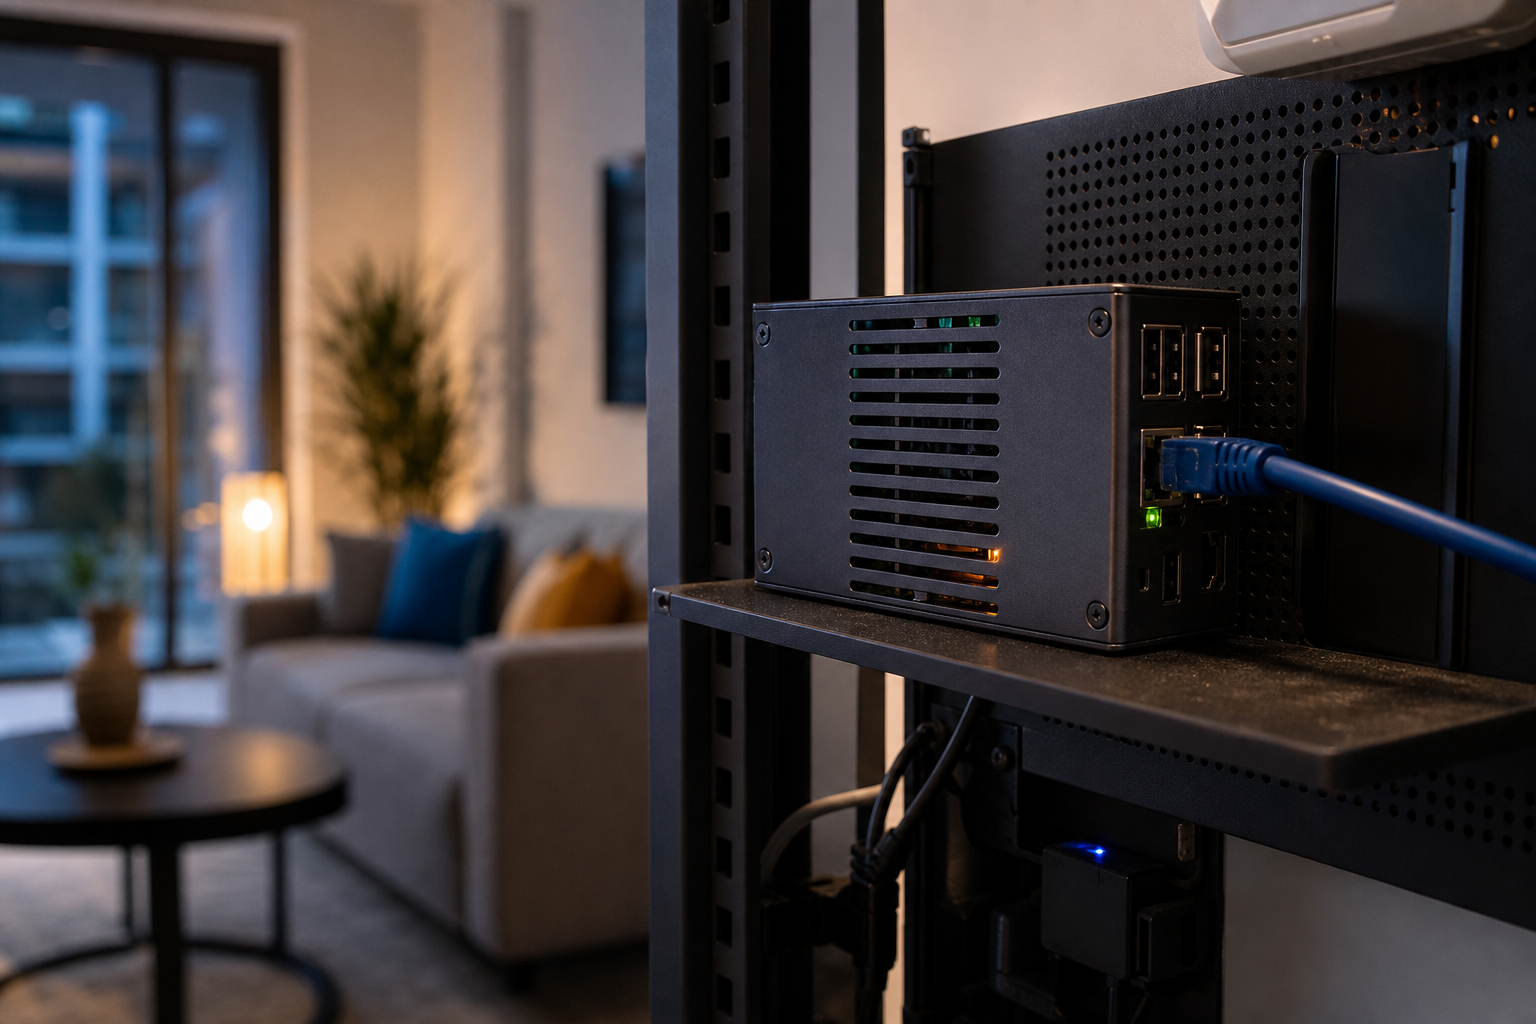
Table of Contents
- Why a Raspberry Pi Beats Cloud-First Smart Home Platforms for Privacy
- The Raspberry Pi Hardware Decision Matrix: Which Board for Your Home Size
- Five Raspberry Pi Home Automation Components That Decide System Reliability
- Installing Home Assistant on a Raspberry Pi: Three Paths Compared
- Choosing Devices for Your Raspberry Pi Smart Home Without Vendor Lock-In
- Designing Your Raspberry Pi Smart Home for Offline Reliability
- Your 30-Day Raspberry Pi Home Automation Build Plan
Why a Raspberry Pi Beats Cloud-First Smart Home Platforms for Privacy
Every cloud-first smart home platform charges you in a currency that doesn't show up on your invoice: behavioral data. Amazon Alexa, Google Home, and even semi-cloud ecosystems like Fibaro require continuous data exchange with manufacturer servers for full functionality. Motion events, door open and close logs, voice queries, schedule triggers — all of it leaves your home and is stored on infrastructure you don't control. The headline cost of these systems is often zero. The real cost is the surrender of household behavioral data, plus the risk that an API you depend on disappears the moment a manufacturer pivots business models. Home automation raspberry pi builds flip that equation by keeping every byte on your LAN.
PJ Evans, writing in the Official Raspberry Pi Handbook 2025, frames a Pi-based setup as a way to "take control of your home, and your privacy," according to Raspberry Pi. That framing matters because it's not marketing copy — it's the technical reality of how the stack operates.
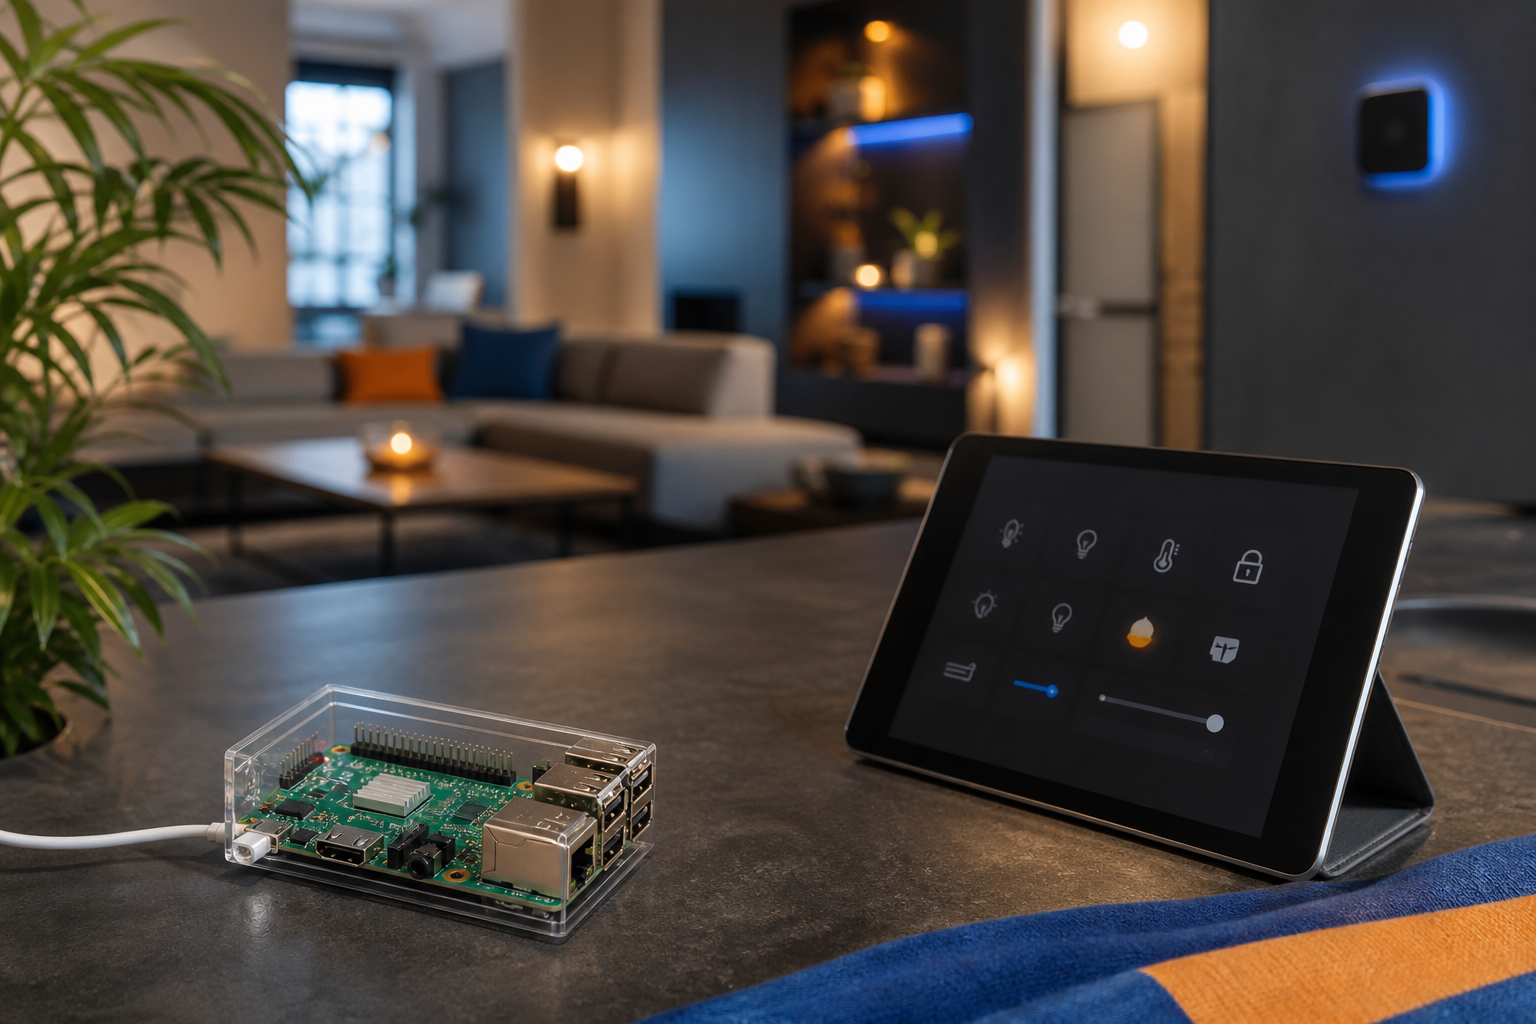
How the Pi keeps automation on your LAN. Once Home Assistant boots, you reach the dashboard at http://homeassistant:8123 on your local network. No cloud portal. No vendor login. The Pi talks to Zigbee and Z-Wave devices through USB radio sticks and to local-Wi-Fi devices through your own router. None of those protocols phone home unless you explicitly install an integration that does.
Offline-first resilience. Your lights don't die when your ISP goes down. Schedules, motion-triggered scenes, sunrise-and-sunset automations, and door-lock logic all execute locally on the Pi. Cloud-bound systems often fail partially — the lights still respond to the switch on the wall, but the routines stop firing. A Pi-based system keeps running because no part of the decision tree lives on someone else's server.
Data autonomy as a default, not a setting. Nothing about Home Assistant's local install sends logs anywhere. No ML training pipelines analyze your routine. No third-party analytics quietly count how often your bedroom motion sensor fires at 2 a.m. The configuration YAML file lives on your SSD. The recorder history database lives on your SSD. You decide how long to retain it and when to purge.
How this compares to the competition. Fibaro and Grenton offer polished ecosystems with strong hardware, and their Z-Wave sensors in particular are genuinely good products. But their configuration tools and remote-access layers route through proprietary cloud services. Keemple and similar consumer kits depend entirely on app servers — pull the plug on the company, lose the system. The Home Assistant-on-Pi approach is structurally different: the homeowner literally owns every byte the system generates, and the platform itself is open-source software that cannot be remotely revoked.
The skill ceiling is also lower than reputation suggests. With Home Assistant OS, you flash an image, plug in Ethernet, and complete a five-field web wizard. You never touch a Linux command line unless you want to. The trade-off versus Fibaro isn't complexity for privacy — it's one weekend of setup for permanent data autonomy.
The real cost of cloud automation isn't the monthly fee — it's the slow surrender of control over the data and behavior of your own home.
The Raspberry Pi Hardware Decision Matrix: Which Board for Your Home Size
The right Raspberry Pi for your home automation hub depends on three variables — projected device count, dashboard complexity, and your tolerance for waiting on UI loads. Undershoot and Home Assistant feels sluggish once you cross roughly 30 devices. Overshoot and you've paid for headroom you'll never use. Raspberry Pi's own documentation strongly recommends Pi 4 over Pi 3 for Home Assistant performance, even though Pi 3 is technically supported, according to Raspberry Pi.
| Model | RAM | Suitable home size | Approx. price (EUR) |
|---|---|---|---|
| Raspberry Pi 3B+ | 1 GB | Test bench, under 10 devices | €35–45 |
| Raspberry Pi 4B (2GB) | 2 GB | Small flat, up to ~25 devices | €45–55 |
| Raspberry Pi 4B (4GB) | 4 GB | Standard apartment, 25–60 devices | €65–75 |
| Raspberry Pi 4B (8GB) | 8 GB | Large home, 60–100 devices | €85–95 |
| Raspberry Pi 5 (4/8GB) | 4–8 GB | 100+ devices, video, add-ons | €80–110 |
| Intel NUC / mini-PC | 8GB+ | Heavy workloads, multiple services | €250+ |
Home Assistant OS 9.5 images are published specifically for Pi 3 and Pi 4/400 boards, and Pi 5 support has matured through both official and community images. The reason RAM matters more than raw CPU clock speed for this workload is structural: the supervisor process, the recorder database that logs state changes, and any add-ons you install — Zigbee2MQTT, ESPHome, Mosquitto, Frigate for cameras — accumulate memory consumption rapidly as device count grows. A 2GB Pi handles 25 devices fine; load it with 60 devices and a camera add-on, and you'll feel it.
The sweet spot for most Polish apartments and small houses is the Pi 4B 4GB. It costs roughly €65–75, handles 25–60 devices comfortably, and leaves enough headroom for two or three add-ons without performance complaints. Move up to the Pi 5 if you plan to add a Frigate NVR for cameras or local voice processing within the next 12 months — the extra CPU performance per watt makes a real difference for those workloads.
Storage is the next variable, and it's the one most guides get wrong. Official guidance permits a "fast SD card 32GB or more" per Raspberry Pi, and that's enough to get booted. For an always-on 24/7 hub, though, an SSD is the right answer — for reasons the next section explains.
Five Raspberry Pi Home Automation Components That Decide System Reliability
Every home automation raspberry pi setup that fails in year two fails because of one of these five components — not the Pi itself.
1. Power supply: undersized equals silent corruption.
A Pi 4 needs the official 5.1V / 3A USB-C PSU. A Pi 5 needs 5.1V / 5A USB-C PD. Generic 2A phone chargers produce undervoltage warnings, SD card corruption, and random reboots that masquerade as "Home Assistant bugs" for months. The fix costs €15–25 for the official supply. Skipping it costs you weeks of phantom troubleshooting and, eventually, a corrupted database. There is no cleverness available here — buy the official PSU.
2. Storage: an SSD on USB 3.0 outlasts any microSD card.
Baseline official guidance is a 32GB+ fast SD card per Raspberry Pi. Reality: SD cards degrade under write-heavy 24/7 workloads, and Home Assistant's recorder writes constantly. Use a 120–256GB SATA SSD in a USB 3.0 enclosure for €25–40. Mean time to failure goes from "months" to "years." If you must stay on SD for budget reasons, schedule weekly snapshot backups — Zakaria's tutorial on home automation specifically emphasizes that configuration backups are the operational hygiene that keeps SD-only setups recoverable, according to zakaria robotique.
3. Network: wired Ethernet is non-negotiable for the hub.
Raspberry Pi's official guide states explicitly that wired Ethernet should be used "to ensure reliability." Wi-Fi adds latency, retransmissions, and dropouts. Your Zigbee and Z-Wave devices already run wirelessly to the Pi over their own radios — the Pi itself should sit on copper. The cost is a Cat6 cable and one free port on your router. The benefit is that 90% of "Home Assistant feels slow" complaints disappear.
4. Cooling: thermal throttling kills automation responsiveness.
A Pi 4 starts throttling around 80°C. A Pi 5 runs hotter at idle and effectively requires active cooling. Use an aluminum case with integrated heatsinks or a fan-equipped case — €10–25 buys you reliable headroom. Without it, complex automations stutter during peak load, and you'll spend hours blaming your YAML when the real cause is a hot SoC clocking itself down.
5. Backup target: your configuration is your home.
Home Assistant has built-in snapshot backups. Schedule weekly snapshots to either a USB drive plugged into the Pi or a Samba share on a NAS. If you're planning to add cameras as a Week 5+ expansion, the Home Assistant + Wyze integration guide walks through doing that locally — and those camera configs become part of what your backups protect. An old USB stick handles the job for free; €5/month encrypted cloud storage is a defensible single trade-off if you genuinely have no off-Pi target.
Get these five right and you've eliminated 95% of the failure modes that turn DIY smart homes into abandoned projects. Now: how you install the software.
Installing Home Assistant on a Raspberry Pi: Three Paths Compared
There are three ways to run Home Assistant on a Raspberry Pi. Picking the wrong one isn't catastrophic, but it'll cost you weeks of friction. Here's how to choose in 60 seconds.
Raspberry Pi Imager now lists Home Assistant OS 9.5 directly under "Other specific-purpose OS → Home assistants and home automation" for Pi 3 and Pi 4/400 boards, according to Raspberry Pi, making the OS path more accessible than at any point in the platform's history.
| Method | Setup time | Linux skill | Maintenance | Best for |
|---|---|---|---|---|
| Home Assistant OS | ~30 min | None | Automatic | 95% of homeowners |
| Home Assistant Container | 1–2 hrs | Intermediate | Moderate | Users running other Docker services |
| Home Assistant Core (venv) | 2–3 hrs | Advanced | Heavy | Developers / tinkerers |

Home Assistant OS is the right call for 95% of readers. It's appliance-like: flash the image, boot, and the supervisor process handles updates, add-on installs, and snapshots automatically. This is the path Set Smart Home installs in client homes by default, because it's the one where a customer can reasonably take over self-maintenance after handover.
Home Assistant Container matters only if you're already running Pi-hole, Plex, or other Docker workloads on the same Pi. You lose the supervisor — which means no one-click add-on installs — but gain process isolation and the ability to compose Home Assistant alongside your other services. Choose this only if "alongside other services" is a real requirement, not a hypothetical one.
Home Assistant Core in a Python venv is for people who genuinely want to read changelogs and update Python dependencies manually. You take full responsibility for OS-level security patches, Python version migrations, and every breaking change in a release. It's an excellent learning environment and an impractical production system.
This isn't the step-by-step installation tutorial — that's a separate guide. The point here is to make the choice before you spend two hours down the wrong path. Whichever route you pick, the dashboard ends up at http://homeassistant:8123 on your LAN, with no cloud portal involved.
Maximum control sounds great until you're the one applying security patches at midnight on a Tuesday.
Choosing Devices for Your Raspberry Pi Smart Home Without Vendor Lock-In
Hardware decisions for a home automation raspberry pi build come down to one principle: protocol matters more than brand. Pick the right protocol and the brand of bulb is irrelevant; pick the wrong one and you've locked yourself into someone else's roadmap.
The privacy hierarchy of device protocols. Rank them honestly:
- Zigbee and Z-Wave — fully local, never require internet, mesh among themselves
- Local-Wi-Fi devices flashed with ESPHome or Tasmota — local, but they share your Wi-Fi spectrum
- Matter-over-Thread — local-first by design, increasingly viable in 2026
- Cloud-bridge Wi-Fi devices — require manufacturer servers; can sometimes be reverse-bridged, but risky
- Cloud-only devices — avoid entirely
The first two protocols cover roughly 90% of what a typical home needs.
Why Zigbee and Z-Wave matter specifically. They mesh-network among themselves, never touch your Wi-Fi or your internet connection, and the protocols are open enough that one USB stick attached to your Pi controls dozens of devices from many manufacturers. A Sonoff Zigbee 3.0 Dongle Plus paired with Zigbee2MQTT, or a Zooz 800 Series Z-Wave stick, becomes the coordinator that breaks vendor lock-in at the radio layer. After that, the brand on the bulb or sensor box is a price-and-design decision, not a platform commitment.
A device that communicates only locally can never be remotely disabled, remotely shut down, or remotely updated against your will.
Device category breakdown. Here's the practical guidance category by category.
Lights. Zigbee leaders include IKEA Tradfri (the cheapest credible entry point, with excellent local control), Philips Hue bulbs (pair them directly to Zigbee2MQTT and skip the Hue Bridge entirely), Innr, and Müller-Licht. Avoid Wi-Fi smart bulbs that require a vendor app to set up — they're red flags by definition.
Smart plugs. Zigbee plugs from Tuya, Aqara, and IKEA run €10–20 each and operate fully locally once paired. For a vetted shortlist, see the roundup of the best smart plugs for Home Assistant in 2026 — every entry is locally controlled, no cloud account required.
Door locks. Z-Wave dominates this category for security reasons. The encrypted S2 framework is genuinely well-designed, and Wi-Fi locks introduce significant attack surface plus the usual cloud-app dependency. Yale, Danalock, and Schlage all ship Z-Wave models worth shortlisting.
Motion sensors and door/window contacts. Aqara on Zigbee is the price-performance leader — small, battery-efficient, €15–25 per unit. Fibaro's Z-Wave sensors are excellent premium hardware; they just shine more when paired with Home Assistant than with Fibaro's own cloud-tethered hub. That's not a dig at Fibaro — it's an honest read on where their sensors deliver the most value. If you share your home with animals, motion-and-presence logic gets more nuanced — the guide to smart home automation for pet owners covers how to design routines that account for pets without constant false triggers.
Thermostats. Z-Wave radiator valves from Heatit and Danfoss are the dominant choice for Polish apartments with standard radiator setups. Some local-Wi-Fi options exist for boiler control, but they vary widely in quality.
Cameras. Local RTSP cameras from Reolink and Amcrest integrate cleanly via the Frigate add-on, which runs the object detection locally on the Pi (or on a dedicated mini-PC if you scale up). Avoid cloud-only doorbells categorically — they're the worst privacy offender in the entire smart home category.
How to spot dead-end devices before buying. Red flags on a product page: "requires app account," "cloud features," "voice assistant required for setup," or no public API documentation. Green flags: the Zigbee, Z-Wave, or Matter logo printed on the box, a listing on Home Assistant's official integrations page, and active threads on the Home Assistant community forum. If you can find someone running the device on Home Assistant within the last six months, the integration is probably stable.
Cost narrative — local is cheaper long-term. A €60 starter kit (Sonoff Zigbee stick, four IKEA bulbs, two Aqara motion sensors) outperforms a €200 cloud-bound ecosystem on every metric that matters: latency, privacy, longevity, and the certainty that the system will still work when the manufacturer pivots, gets acquired, or discontinues a product line.
Set Smart Home maintains a tested compatibility list across installs in Warsaw apartments, houses, offices, and hotels — saving customers the trial-and-error phase. You can replicate it solo using the criteria above, or skip the homework and use a verified list from a local installer. Either path works.
Designing Your Raspberry Pi Smart Home for Offline Reliability
An automation worth having is one that runs when your ISP is offline. That's the test. Here's how to design for it.
The Raspberry Pi plus local-protocol devices (Zigbee, Z-Wave, wired GPIO) operate independently of your internet connection. Only remote app access and cloud-bound integrations actually need connectivity. Official Raspberry Pi guidance reinforces this design pattern by stressing wired Ethernet for hub reliability — a hub that's flaky on Wi-Fi will feel "offline" to its devices even when the internet is fine.

What keeps working when the internet drops:
- Local automations and scenes — motion-triggered lights, time-based schedules, presence routines
- Physical button and switch presses on Zigbee and Z-Wave devices
- Sunrise and sunset triggers, calculated locally from your stored timezone
- Local voice control via Home Assistant's built-in voice pipelines or a Wyoming-protocol satellite
- Door locks responding to manual codes, keys, or NFC tags
What stops working when the internet drops:
- Mobile app access from outside your home Wi-Fi (unless you've configured a self-hosted VPN like WireGuard)
- Cloud-dependent integrations such as weather forecasts, traffic-ETA triggers, and online calendar lookups
- Push notifications to phones — a local Telegram bot fails without internet, though SMS via a USB GSM modem keeps working
- Any device you bought that depends on its vendor's app servers, even if it's nominally on your Wi-Fi
Offline-reliability design checklist:
- Audit each automation: does any step call a cloud API? If yes, refactor it to use local triggers, or remove the dependency entirely.
- Test by physically unplugging your router for one hour. Whatever breaks is your real cloud exposure — written in plain evidence rather than guesswork.
- Add a UPS sized to run the Pi, your router, and your Zigbee coordinator for 30+ minutes. Budget around €60–100. Brownouts and short outages stop corrupting your storage, and your smart home rides through power blips invisibly.
- Build manual override into anything critical. Every smart lock should still open with a physical key. Every smart switch should still toggle on the wall. The day you can't get into your own house because of a software bug is the day the project lost.
Apply these four steps and you've built a system that survives the realistic failure modes of Polish residential infrastructure — ISP outages, summer thunderstorms, planned grid maintenance. That's the standard a private smart home should meet.
Your 30-Day Raspberry Pi Home Automation Build Plan
Everything above turns into action here. Below is a four-week checklist that takes you from "considering it" to "running a private smart home with five working devices." Set Smart Home uses a compressed version of this same sequence in paid installs.
Week 1 — Planning and Procurement
- List the rooms you want automated and target a device count. 5? 20? 50? This number drives the Pi model choice.
- Pick your Pi model using the Section 2 table. Default to the Pi 4B 4GB unless you already plan to run cameras through Frigate within 12 months — in which case go Pi 5.
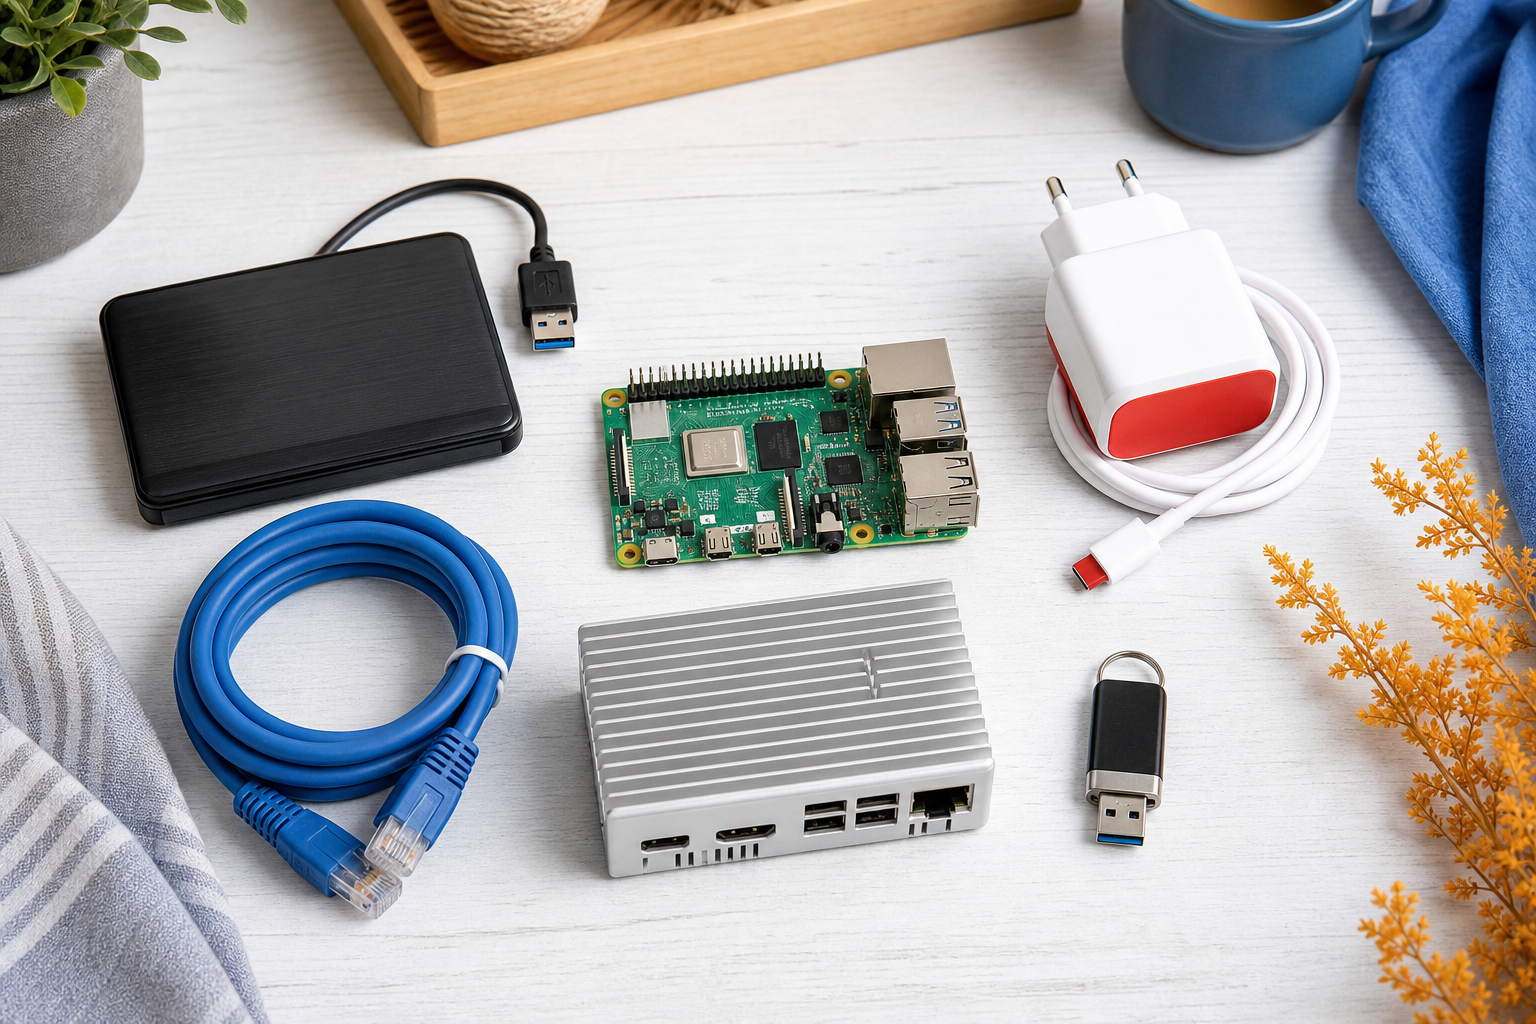
- Order the five components from the reliability section: Pi board, official PSU, SSD with USB 3.0 enclosure, Cat6 Ethernet cable, and a heatsink or fan-equipped case.
- Pick your radio coordinator: Sonoff Zigbee 3.0 USB Dongle Plus for Zigbee2MQTT, or a Zooz 800 Series stick for Z-Wave. Most builds start with Zigbee. Order it.
- Order 3–5 starter devices: one smart plug, two bulbs, one motion sensor, one door/window contact. This is enough to learn the workflow without overwhelming you.
Week 2 — Hardware and First Boot
- Assemble the Pi in its case, attach the SSD via USB 3.0, and plug in the Ethernet cable — wired connection during setup is the official Raspberry Pi recommendation.
- Download Raspberry Pi Imager on your laptop. Navigate to Other specific-purpose OS → Home assistants and home automation → Home Assistant OS and select the image matching your Pi model. Flash to the SSD (or to a 32GB+ fast SD card as a fallback).
- Insert the storage, connect the official PSU, and power the Pi. Wait roughly 10 minutes for the first boot to complete its initial provisioning.
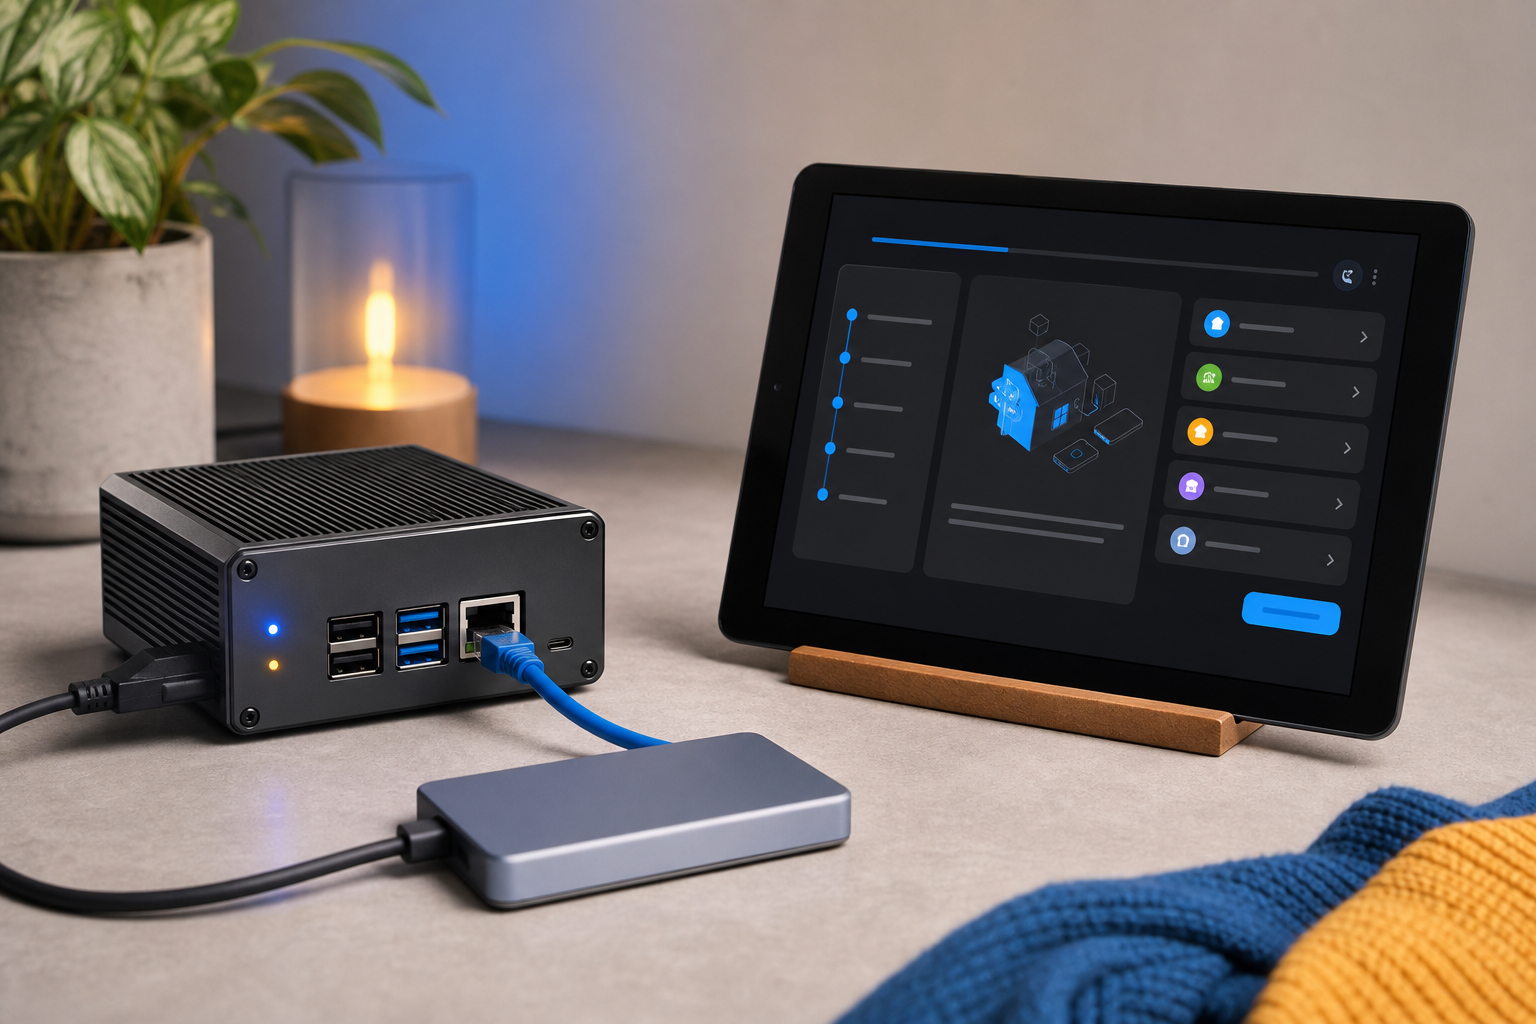
- From any device on the same LAN, open a browser and navigate to
http://homeassistant.local:8123. The setup page loads with no further configuration needed. - Complete the onboarding wizard: name, username, password, location (set this accurately — it controls sunrise/sunset), and timezone.
Week 3 — Integrations and First Devices
- Open Settings → Add-ons → Add-on Store. Install either Zigbee2MQTT (more flexible, recommended) or ZHA (simpler, built into Home Assistant). Plug your Zigbee USB stick into a USB 2.0 port — avoid USB 3.0 ports, which generate radio interference.
- Pair your first device. Start with the smart plug because it's the easiest to physically observe. Confirm you can toggle it from the dashboard.
- Pair the motion sensor and one bulb. Place the motion sensor where you'll actually use it — typically a hallway.
- Create your first automation in the UI: When motion is detected in hallway between sunset and sunrise, turn on hallway bulb for 3 minutes. No YAML required for this one — the visual automation editor handles it.
- Unplug your router for 5 minutes. Walk past the motion sensor. If the light still fires, you've passed the offline-reliability test. If it doesn't, your automation is referencing a cloud component you need to refactor.
Week 4 — Expand and Stabilize
- Pair the remaining starter devices. Each one should take under 5 minutes once you've done the first three.
- Build your first scene: a "Movie night" scene that dims three lights and turns off a smart plug feeding a hallway lamp. Trigger it from the dashboard or a physical Zigbee button.
- Enable scheduled snapshot backups (Settings → System → Backups → Automatic backups). Target a USB drive plugged directly into the Pi, or a Samba share on a NAS if you have one. The principle of regular configuration backups is one Zakaria's tutorial emphasizes for exactly this reason — recoverability is the difference between a one-day outage and a one-week rebuild.
- Add household members as additional Home Assistant users. Each gets their own login and mobile app access.
- Document your setup in a one-page text file: device IDs, automation logic in plain English, backup location, network notes. Store one copy off-Pi — printed paper in a drawer counts.
After Day 30
- Plan your next wave of integrations. The common Week 5+ additions are local cameras through the Frigate add-on, Z-Wave smart locks, and Z-Wave radiator valves for room-level climate control. If you're expanding the smart plug count, the best smart plugs for Home Assistant in 2026 shortlist saves you the research phase.
- If you hit a wall — devices that won't pair, automations that misfire under load, or you're scaling past what a hobby setup should handle — Set Smart Home offers same-day professional installation in Warsaw and surrounding areas, with optional ongoing remote support for your raspberry pi home automation system. The first consultation is free.
You now have the map. Order Week 1's hardware this week, and 30 days from today you'll be running a smart home that answers to no one but you.